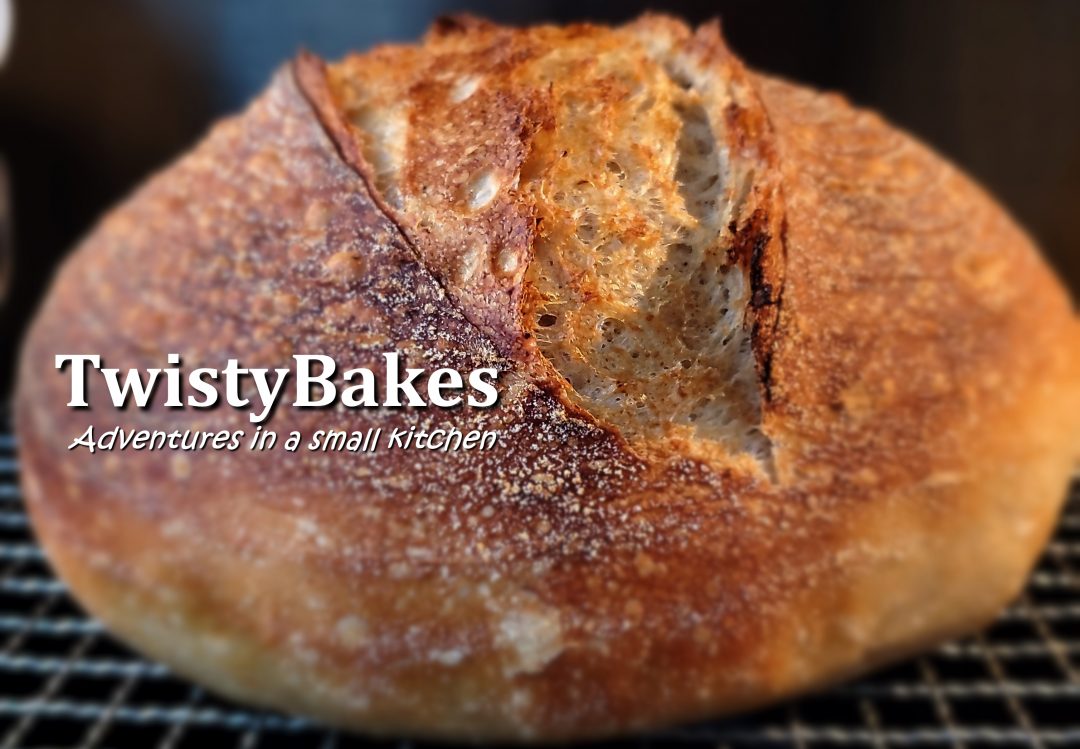

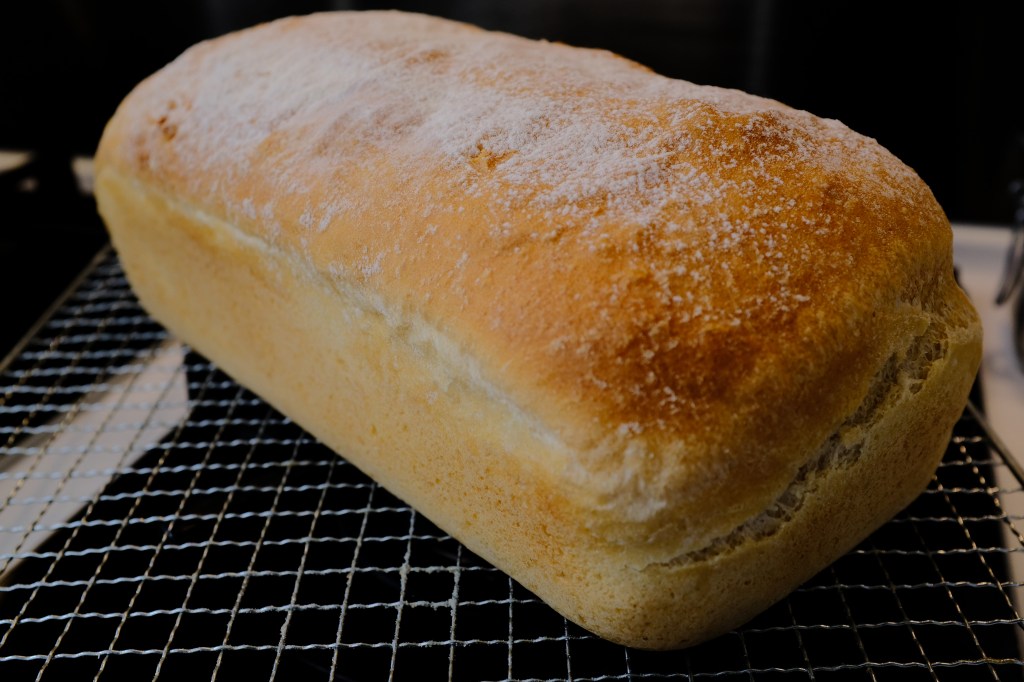
I guess most of us start our bread-baking journey with Basic White Bread. I’m not sure I can offer much more than the back of a packet of flour will tell you, but my thoughts are after the recipe below.
Ingredients
| Strong white bread flour | 500g |
| Water (room temperature) | 340g |
| Instant Yeast | 7g |
| Fine salt | 8g |
Method
Throw everything in a bowl and mix by hand until it forms a sticky/shaggy ball.
Tip on to workbench, and begin kneading for 6-10mins.
Once stretchy, silky and able to pass the window pane test, replace dough back in lightly oiled bowl.
Cover and rise until passing the poke test.
Tip dough on to a lightly dusted workbench.
Flatten with knuckles to knock the air out.
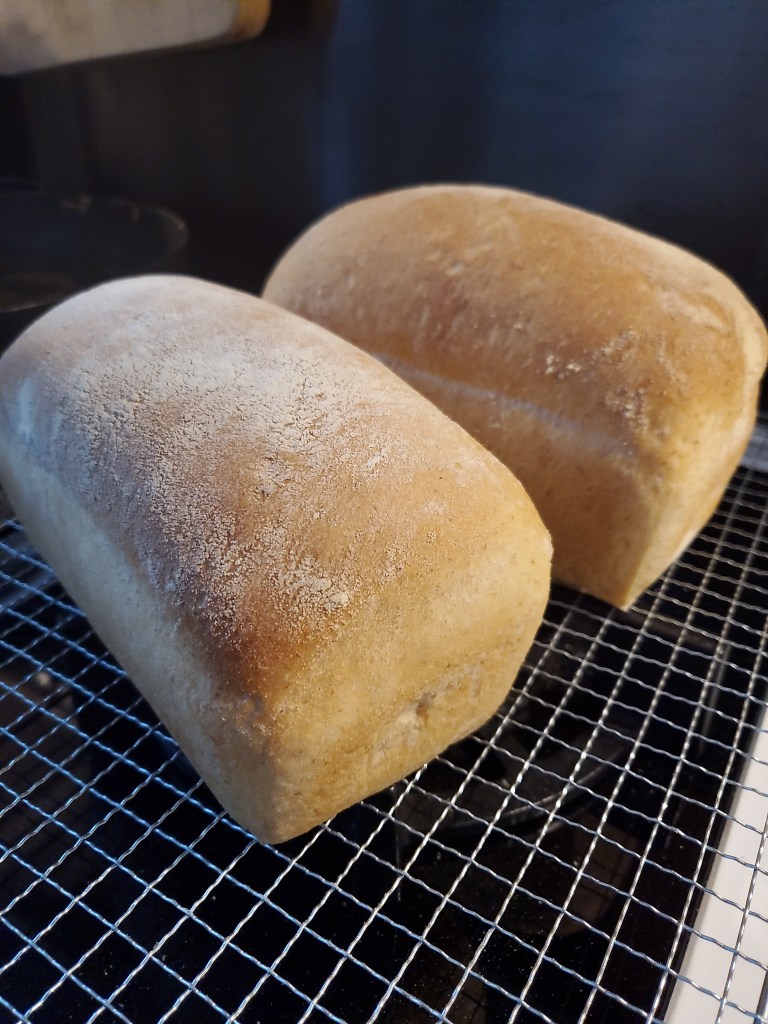
Shape and place in tins.
Cover and allow to rise until 3cm above the level of the tin.
Bake in a preheated oven at 200°C for 25-35 minutes.
You’ll know it’s ready when the crust is golden and when you knock on the bottom of the loaf it sounds hollow.
Allow to cool before slicing.
Commentary
Well that all sounds so simple, but what does it all mean to the novice baker? There are so many variables in there I’ve always felt that “basic” recipes never really teach you how to bake bread. So read on for my commentary.
Ingredients
This should be simple, but isn’t.
Flour
Firstly, we’re looking for a flour high in gluten and that means protein. Forget the French and Italian flours, they rarely exceed 12% protein. You can check the nutritional info label on the packet to see the protein percentage.
Except some American flours which only list “per portion” of somewhere around 30g, so typical protein would be 4.5g. You have to do the maths to see what percent of 100g that would make.
In any case, we’re looking for a flour with 12-14% protein. The one I use comes in at 13.3%.
Remember that the higher the protein, the more potential for gluten development you have. You want that gluten. It’s what gives your dough elasticity, it’s what stretches and traps gas when it rises, and without it your dough will be crumbly and stale quickly.
Loaves with lower levels of protein, and thus gluten, are a different topic for another day, but one such method is The Approachable Loaf.
Available flours in Hong Kong I’ve had success with are Waitrose Canadian Strong White Fl
our, Bob’s Red Mill Artisanal Bread Flour, Dove Farms Organic Strong Bread Flour. I don’t much like the Duchy Organic, just doesn’t seem to work for me.
Water
Room temperature ARGH!
My kitchen in March in Hong Kong runs at about 27°C (well it did this morning when I measured).
If your temperatures stray beyond 35°C you’ll kill the yeast. On the other end of the spectrum you will have some activity from yeast all the way down to around 2°C.
In yeasted breads like this we’re less concerned with the development of bacteria than we are when baking sourdough. The short prove times don’t permit the bacterial development. So we’re looking for an optimal rise, when in a commercial environment would mean the fastest.
Yeasts are at their most active in the range 27°C – 32°C. Yay for my kitchen temperature.
You can add water at 32°C and get a faster rise, or 27°C (or less) for a slower rise. Mine comes out of the cold water tap just shy of 27°C so I use that.
This recipe calls for 340g of water, which is 68% hydration of 500g flour.
If you find it hard to handle the dough then you could drop water down to 325g (65% hydration) and still get a great loaf.
Instant Yeast
I happen to use SAF Instant Red Yeast, which I think is formulated for low-sugar recipes. As this isn’t enriched bread this is fine. Similar products are available from Hovis, Allinsons, Fleichmann’s, etc. Be sure your packet is 7g, some sneaky packets (SAF Gold) come in 11g which will explode your bread.
Alternatives are Active Dry Yeast which needs to be added to water and fermented before use – I ain’t got time for that.
I also substitute Fresh Yeast when available. The internet tells me to use 18g of Fresh Yeast instead of 7g Instant, but I find that to be too much, so I usually throw in around 12g to the water and mix before adding to the flour.
Salt
Very fine salt (table salt) is preferred here as the smaller grains will dissolve in the dough better. Big flakes not so much.
Up to you if you prefer pink, kosher etc.
Some recipes say to add the yeast and salt to the bowl separately as the salt kills the yeast. In reality you’re mixing it all up so fast it probably doesn’t make much difference. I just throw them in to different sides of the bowl.
Throw everything in a bowl and mix by hand until it forms a sticky/shaggy ball.
This is pretty easy. Just use the straightened fingers of one hand to stir it all up until it comes together. You’ll get annoying flour at the bottom of the bowl that you’ll need to scoop up. Once you have a single shaggy ball of dough…
Tip on to workbench, and begin kneading for 6-10mins.
This is going to get sticky. Accept that. Be at peace with sticky fingers.
With dough in front of you, use the heel of one hand to push the dough out in a line. You will see the dough tear and rip as you do this. Do your best to then bring that line of dough back to the ball, rotate through 90° and do it again. You can even do several pushes away from you before you turn the dough. Every now and again you can use fingers or a bench scraper or pallette knife to bring it back to ball shape before carrying on.
Hang on! No flour? No oil? Nope! I don’t use them as they are not needed. And they will fundamentally alter the balance of ingredients in your dough. Remember, you are at peace with sticky fingers. Now be at peace with a sticky workbench, for the time being.
That is it really. What matters now is knowing when your dough is ready.
The first thing to look for is an apparent change in the dough. Understanding this change is why I recommend making by hand rather than machine at first, so you know what to look for.
At some point, you will notice that the dough is getting less sticky and more stretchy. For me, this happens at around 6-8 mins of hand kneading. The dough leaves the bench – and your fingers – more easily on each knead. It starts to feel silky and smooth.
But keep going! It’s not ready yet. You’ve started great gluten development, but not enough yet. For your first few attempts, keep going for maybe 10-12 minutes so you can really feel the stages the dough goes through.
Once stretchy, silky and able to pass the window pane test, replace dough back in lightly oiled bowl.
Eventually you will reach a point where the dough is ready. You will know this from several observable factors:
- Hold the ball of dough in one hand. If it stays in shape, it’s good to go. If it droops or sags, keep kneading.
- You can take a small walnut-size piece and stretch it out in to a thin sheet in your fingers and hold it up to the light. You should be able to get it thin enough to see light but without it ripping or tearing.
- Poke it with a finger. If it fills in quickly, you’re golden. If not…keep kneading.
- You start thinking to yourself “Seriously, it must be 20mins by now!” and your arms are tired.
I tend to use the bowl I’ve mixed the dough in, add a teaspoon of oil (olive, rapeseed, whatever) and wipe it round with kitchen tissue. Just plonk the dough back in the middle. Don’t go too heavy on the oil, it won’t help you later.
Cover and rise until passing the poke test.
Cover – use a tea towel. Or cling film. Or a shower cap. It won’t make a difference for the length of time this is going to be doing it’s first rise, proof or prove.
It is good to keep the dough out of draughts during the proving.
Remember what we said about temperature earlier? Anything form 20°C to 34°C is going to work fine, but 27°C-32°C is optimal. I usually leave it on the side, or put it in the microwave (not turned on!) to get it out of the way while I do other things.
Double in size?!?
I have to be honest, this is the most oblique instruction in any bread recipe. It’s very hard to guess when a round lump of dough has doubled in size.
You could put your dough in a straight-sided container and measure the height I guess.
Or you can use the “poke test” again. Push your finger in to the dough about 2cm. You will get one of the following results:
- Hole will close up completely. You’re under-proofed.
- Hole will stay open completely. You’re over-proofed.
- Hole will half-close. You’re just right.
If your proving area and dough is warm (above 24°C) I would start checking the dough after 45mins at the latest. Yeasted bread can rise fast. Above 30°C you might be ready in 30mins! The average kitchen (so I’m told) is around 21°C and takes about an hour.
Tip dough on to a lightly dusted workbench.
Lightly dusted means dusted with flour. A pinch of flour. You should barely be able to see it on the work surface, we’re not looking for piles of flour here. Just enough to stop it sticking while you shape your loaf. You can always dust a little more if it’s sticky, but you can’t remove clods of flour from your dough if you use too much.
Flatten with knuckles to knock the air out.
I use fingers and knuckles to knock the ball into a flat circle. We’re not rolling pasty so it’s not going to be smooth, we’re just getting rid of the bigger bubbles so you’re looking at getting to a generally flat, uneven surface.
Shape and place in tins.
There are so many ways to shape. You can go watch videos on YouTube.
For myself, I will grab the sides of the flat circle of dough and pull them out to the sides, giving me a circle with wings. Then I will fold the wings in to the centre over the top of each other, on a bit of an angle. Think of making a capital A shape once the wings are folded in. The bottom of the A should be smaller than the length of your tin. For this recipe you need a 1lb load tin, which is around 20cm long and 10cm wide.
Check your dough isn’t sticking to the counter at this point and dust underneath only if it is.
Then, starting at the top of the A shape, roll the dough down, using your thumbs to press the dough roll into the flat part you are rolling over.
Tidy the ends if you must, but once it’s done the second rise it won’t matter.
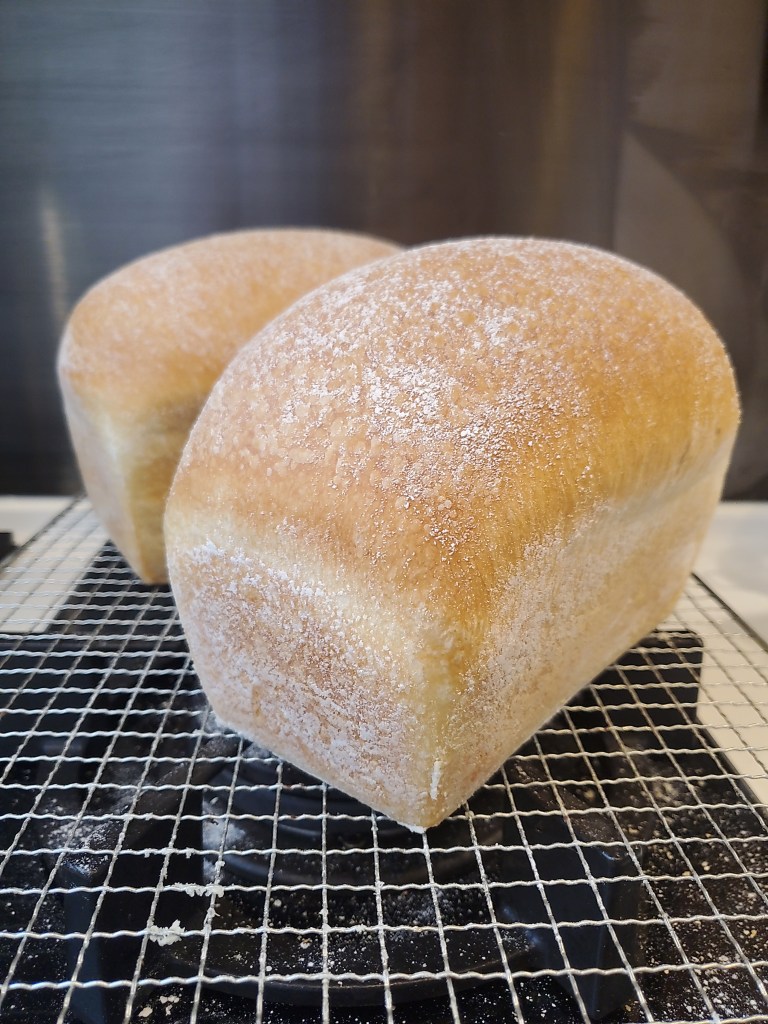
Cover and allow to rise until 3cm above the level of the tin.
Cover with your tea-towel or whatever again. I usually dust the top surface before I cover. It looks nice when cooked.
I say 3cm above the level of the tin, but I don’t know if your combination of ingredients is going to get that far, or further. I find the second rise takes less time than the first if that is any help.
If you poke it again and it mostly springs back, you’re doing OK. If the whole loaf collapses then you over-proved and it should have gone in to the oven earlier.
Don’t be tempted to let it prove until massive, as you need some oomph left in the yeast once it hits the oven.
Bake in a preheated oven at 200°C for 25-35 minutes.
I start preheating when I set the bread for it’s second rise. You need the oven at a good consistent temperature from the beginning of the bake.
Place on the middle shelf, and if your oven cooks unevenly then turn the bread around after the first 15 mins. At that point, it won’t expand any more and you’re in less danger of collapse once the bread shape is set.
There are variations to this baking method too – you could add steam to get a thicker crust. But let’s focus on the basics for now.
You’ll know it’s ready when the crust is golden and when you knock on the bottom of the loaf it sounds hollow.
Big loaves take longer, smaller ones (or buns) take less time. If you check after 25 mins and it sounds dull when you knock on the underside, return it to the oven (without the tin) for 5 mins. You can even do this every 5 mins towards the end of cooking to see how the sound changes.
One easy way to tell if the bread is done is to use a probe thermometer – anything north of 95°C is cooked. Just take a reading from the centre inside of the bread. Simples.
Allow to cool before slicing.
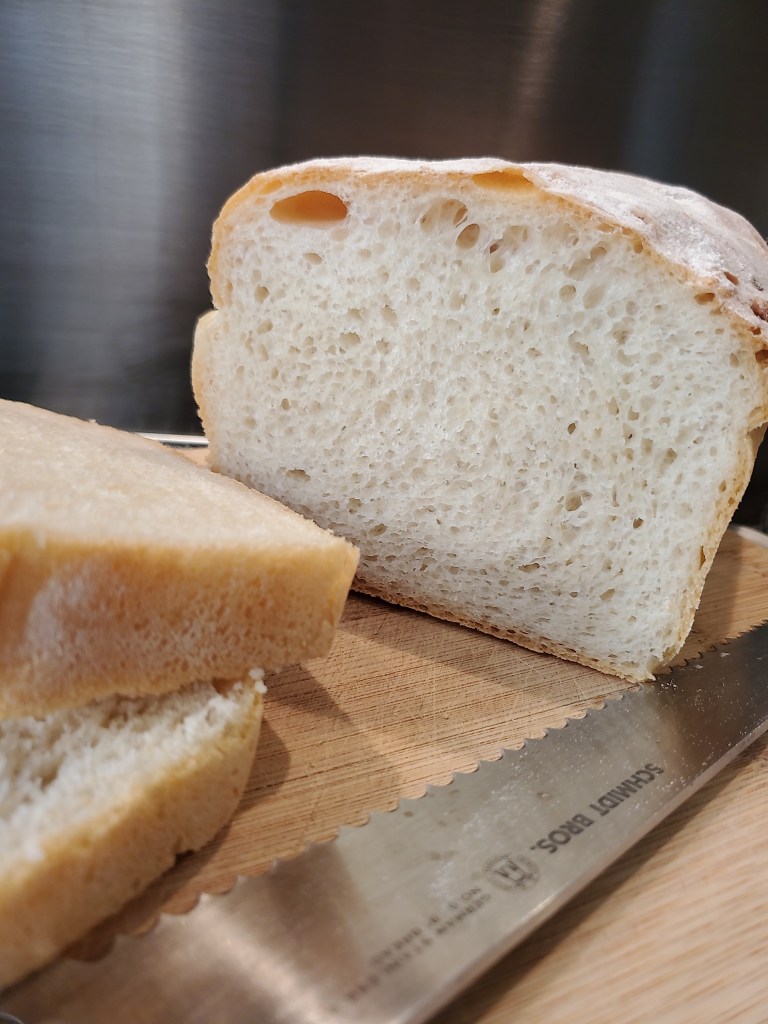
I can’t stress this enough! I know how tempting it is to slice in to hot bread. But all that moisture and steam inside is still doing it’s thing. It needs a while to settle down, otherwise you will get a stodgy crumb when you try and slice.
If you cover with a tea-towel and store in a plastic bag once it has cooled you will get a soft crust. If you leave uncovered and store in a paper bag, linen bag or bread bin then the crust should remain crispy. Best eaten within a day or two.
