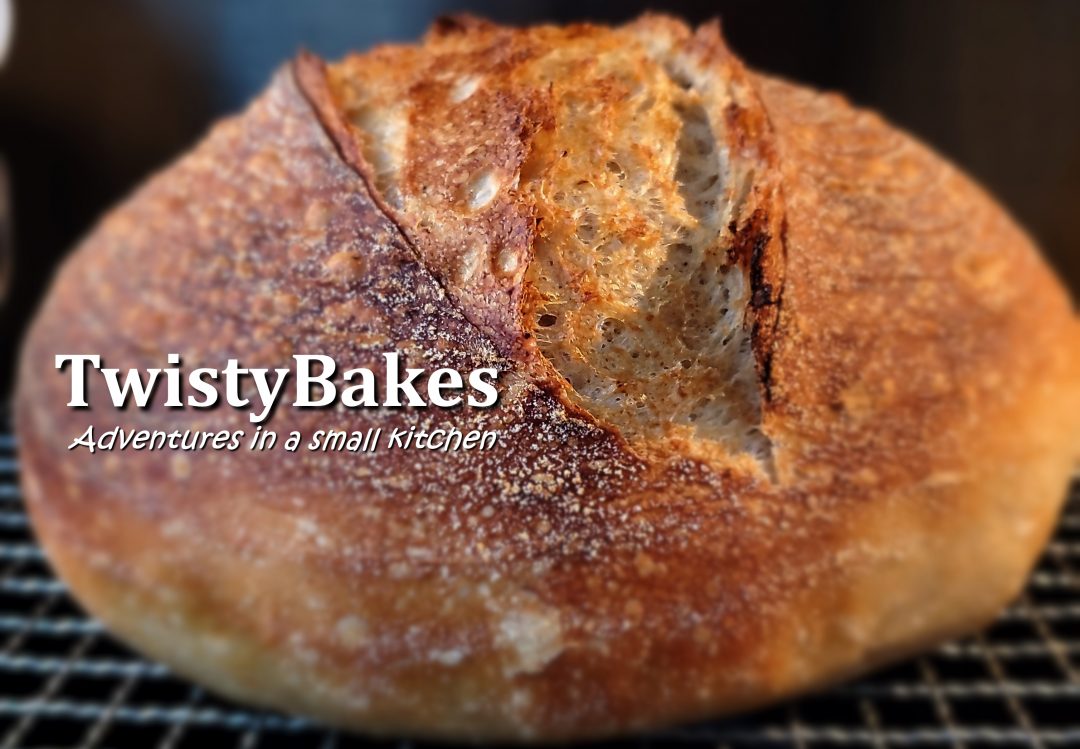
Baps, buns, rolls, cobs, teacakes, batch, whatever you want to call them.
They’re great for bacon sandwiches, with soup or as a side to an evening meal. Soft baps are characterised by having a soft (surprise!) crust, a fluffy crumb and basic white bread deliciousness.
Make tons at a time and freeze them, thawing only what you need. Make them big enough to hold a burger, or smaller as dinner rolls.
Everyone needs a soft bap in their arsenal, this is my simple version. I’ll do the ingredients and method in brief, then add commentary and some simple variations below.
Ingredients
| Strong white bread flour | 500g |
| Water (room temperature) | 325g |
| Oil (Canola, Olive, Whatever) | 25g |
| Instant Yeast | 7g |
| Fine salt | 8g |
Method
Throw everything in a bowl and mix by hand until it forms a sticky/shaggy ball.
Tip on to workbench, and begin kneading for 6-10mins.
Once stretchy, silky and able to pass the window pane test, replace dough back in lightly oiled bowl.
Cover and rise until passing the poke test.
Tip dough on to a lightly dusted workbench.
Divide in to 8 equal pieces.
Flatten with knuckles to knock the air out.
Shape and place on tray.
Cover and allow to rise until approx. 2cm wider.
Bake in a preheated oven at 200°C for 17-20 minutes.
You’ll know they’re ready when the crust is golden and when you knock on the bottom of the baps they sounds hollow.
Allow to cool under a tea-towel before eating, but I know you won’t.
Commentary
Throw everything in a bowl and mix by hand until it forms a sticky/shaggy ball.
Tip on to workbench, and begin kneading for 6-10mins.
Once stretchy, silky and able to pass the window pane test, replace dough back in lightly oiled bowl.
Cover and rise until passing the poke test.
Tip dough on to a lightly dusted workbench.
Everything so far is pretty much the same as my Twisty Basic White Bread, so follow the commentary there if you need more detail. The only difference so far is the reduction in the amount of water and the addition of some oil. In terms of water hydration we’re at 65% now, but we added oil.
Divide in to 8 equal pieces.
So here you have some choices. You can weigh each piece until you have them all about equal, or you can eyeball it. Personally I weigh because apparently I can’t eyeball it. I make 8 larger baps that are big enough for burgers. But you can make 10 or 12 smaller ones if that is your preference, just remember to reduce the cooking time a little.
If you’ve already dusted your work surface, try and avoid getting flour all over the dough. You want a bottom side that has contact with flour, and a top side that remains sticky.
Flatten with knuckles to knock the air out.
Now you’re going to work with one piece at a time. Same as the Twisty Basic White Bread, you’ll start by knocking the dough down. If you trimmed little bits off other bits of dough to get the weight accurate, this is where you’re incorporating it. Just knock it all in to a fairly flat circle.
At this point, the top side should still be tacky. Pinch the edge of the circle and fold it in to the middle. Moving around the clock, fold all the edges in to the centre. The tackiness should keep them stuck there, and you’ll end up with the floured surface on the outside all the way around, with a bundle of seams meeting on top.
Shape and place on tray.
Turn it seams-side down, and roll it in to a ball.
I use a technique whereby I sort of claw my hand on the worktop. My thumb and little finger remain in contact at all times, and the middle three fingers rest on top of the dough. In this position I run my hand in circles – the thumb and little finger have the effect of pushing the sides in and underneath, stretching the top into a nice smooth dome. I find that once a nice ball is achieved, the seams on the underside are invisible. Having a space with no flour on the countertop will help here – the sticky friction to the workbench will help with the rolling.
Hell, go wild and make mini-sausages if you want finger rolls.
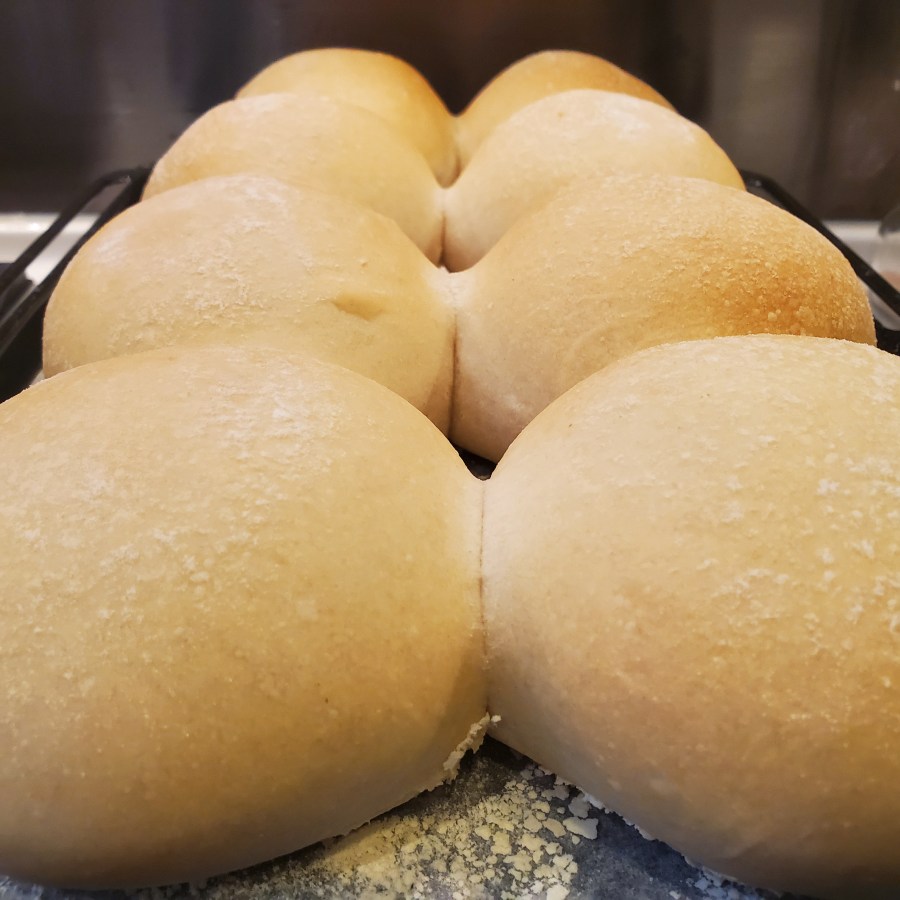
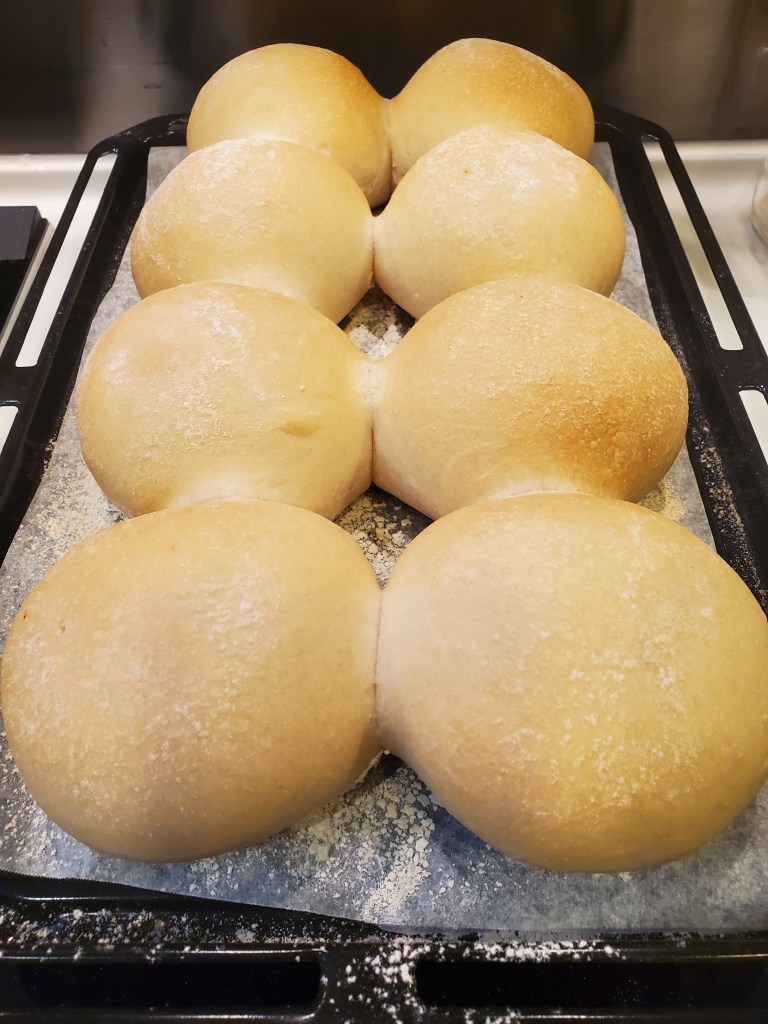
I bake 8 big baps at a time, but when I place them on the tray I space them in such a way that they will touch each other when they go for the second rise. This gives you that great breakaway feeling when you pull them apart once cooked. For me, this means placing them around 4cm apart in both column and row.
I flour my tray or use baking parchment. Then I liberally sprinkle plain flour over the top as I’m aiming for soft floury baps. If you use a shaker or sieve to sprinkle the flour it gives a nice pattern too.
Cover and allow to rise until approx. 2cm wider.
Knowing when your second rise if finished is a bit trickier. They’re small so we don’t want to do a lot of poking as we do with a whole loaf.
Generally speaking, if you do poke then use a flat finger and be gentle. If they spring back all they way, you need more time. If they collapse you over-proofed. It they spring back about half-way then you’re about right.
If you’ve made the Twisty Basic White loaf then you probably know how long you proved the second time and these should be similar. Depending on the temperature of your kitchen this could be 30-60 mins.
Because I place mine about 4cm apart I am waiting for mine to just be touching before baking. Then, as they grow in the oven they will grow into each other further.
Bake in a preheated oven at 200°C for 17-20 minutes.
Baking times are considerably shorter for small baps compared to a loaf. Be careful not to overdo it.
You’ll know they’re ready when the crust is golden and when you knock on the bottom of the baps they sounds hollow.
Or, you know, use a probe thermometer and anything above 95°C is done. Only put back in the oven if you want a deeper shade of golden or a dry horrible crumb.
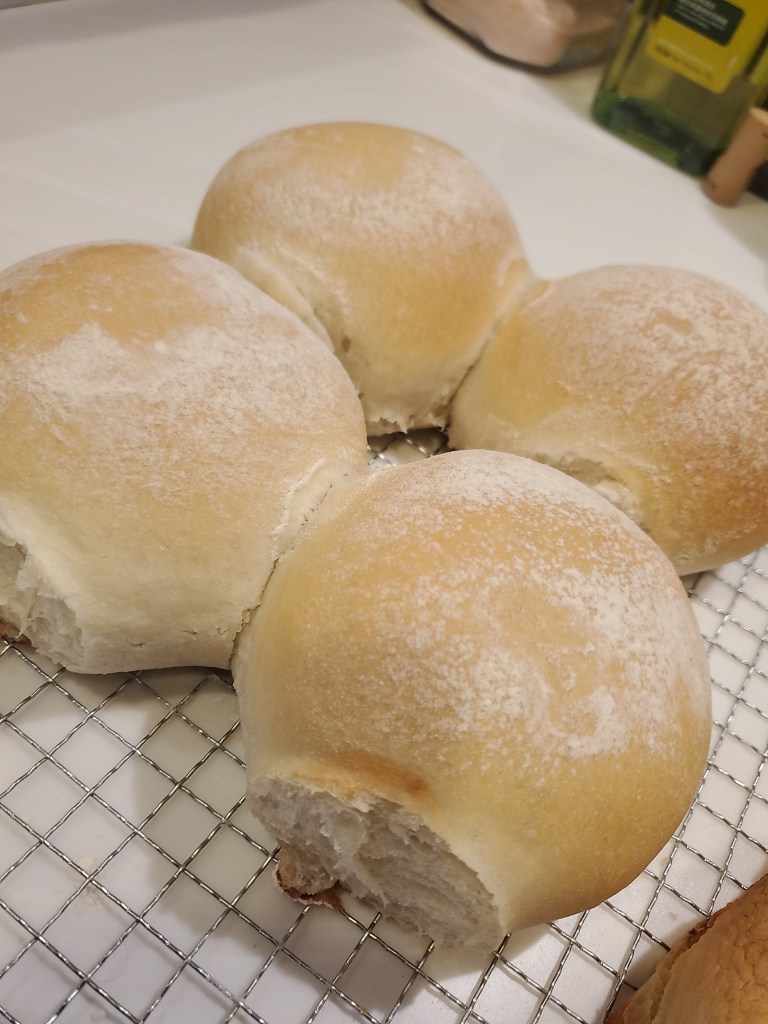
Allow to cool under a tea-towel before eating, but I know you won’t.
OK so the tea-towel part is really important. If you cut these baps open straight away the crumb will be stodgy as there is still steam inside doing it’s thing. You need to let them dry out a little first.
Secondly, the tea-towel keeps the steam contained across the top of the baps, and this is what develops that nice soft crust. (Well, the addition of oil helps there too).
Alternative Endings
Here are some minor things you can do to give yourself a slightly different result:
- Increase the water a little, say up to 340g again to add hydration. Hydration is the essence of softness.
- Make tangzhong – this is another post in itself and means cooking some flour and water together then using it instead of some of the flour in the initial dough. This is how Asian breads achieve great softness.
- Once cooled, store in a plastic bag to retain a soft crust.
- Glaze (spread a thin layer) of beaten egg yolk across the top instead of flouring them before baking. This will give a deep golden colour and a shiny, glossy coat to your end product.
- Add steam to the oven (a baking tray on the bottom of the oven, with a cup of boiling water added as you close the door). This will give a crunchy crust to the bap.
- Immediately after baking, rub a stick of butter or glaze with full fat milk. This will keep the crust soft (like the tea-towel) trick and glossy up the look of your baps.
- For a really floury bap, sprinkle even more flour over the baps before you put the tea-towel over them as they cool. Again it helps to keep moisture inside.
- Glaze with egg yolk and sprinkle sesame seeds on top before you bake for the full McDonalds burger bun feel.
The above list is a bit cheeky, borrowing from other recipes as it does. Usually if you want a really, really soft roll you would have enriched the dough with things like egg, sugar, honey, even more oil etc. And that would be covered in a different Twisty Bakes.
But for simplicity, these baps are the way to go.

